Welcome to our comprehensive guide on cleaning earmolds. As specialists in hearing protection, we understand the importance of maintaining optimal hygiene and durability for earmolds. In this article, we share valuable information, tips, and guidelines to ensure that your earmolds remain clean, fresh, and effective. By following this practical guide, you will not only enjoy an extended lifespan for your hearing protection but also ensure a healthy hearing experience.
Why is cleaning earmolds important?
Cleaning earmolds is essential for several reasons:
Hygiene and health
Earmolds can come into contact with various types of dirt, dust, earwax, and bacteria. Failing to clean earmolds regularly can lead to the buildup of bacteria and fungi, which can result in unpleasant odors, irritations, and even infections. By keeping your earmolds clean, you maintain optimal hygiene and protect yourself from potential health issues.
Durability and lifespan
Cleaning earmolds also helps extend their durability and lifespan. Regular maintenance removes accumulated dirt and prolongs the functionality of the earmolds, keeping them effective in protecting your hearing from harmful sounds.
Step-by-Step Guide to Cleaning Earmold
To ensure that your earmolds are thoroughly clean, follow the step-by-step guide below:
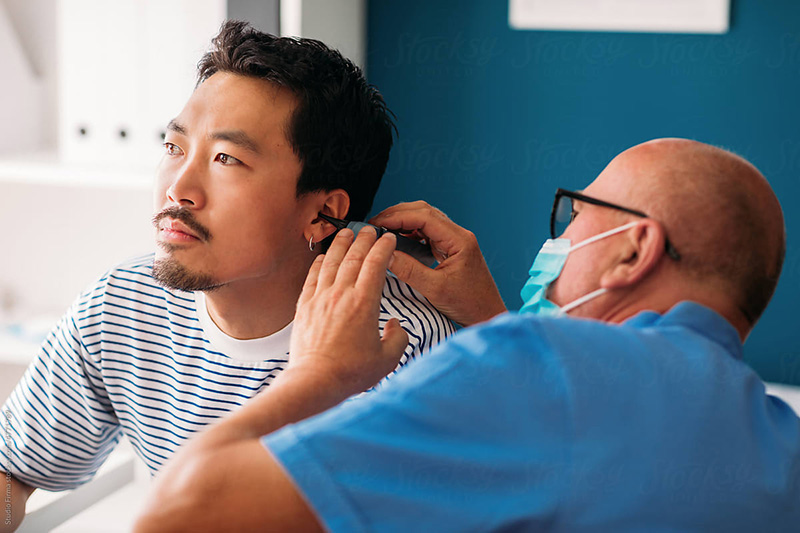
Step 1: Remove the earmolds
Gently remove the earmolds from your ears. Ensure that you do this with clean hands to prevent contamination.
Step 2: Clean with a mild cleaning solution
Create a solution of mild cleaning solution and lukewarm water. Avoid using harsh chemicals or cleaners as they can damage the materials of the earmolds. Submerge the earmolds in the solution and gently clean with the provided cleaning brush to remove any dirt or earwax.
Step 3: Rinse thoroughly
Thoroughly rinse the earmolds with clean water to remove any residues of the cleaning solution. Ensure that no soap residue remains, as this can cause irritation when wearing the earmolds.
Step 4: Dry the earmolds
Gently pat the earmolds dry with a clean, lint-free cloth. Avoid using paper towels or tissues as they may leave lint. Ensure the earmolds are completely dry before placing them back in your ears.
Step 5: Store in a safe place
Store the earmolds in a safe and clean place, preferably in a designated storage case. Avoid exposure to extreme temperatures, humidity, and direct sunlight.
Tips for Maintenance and Enhanced Hygiene
In addition to regularly cleaning your earmolds, here are some valuable tips to promote hygiene and durability:
Tip 1: Check for wear and tear
Regularly inspect your earmolds for signs of wear, cracks, or changes in fit. If needed, contact a professional to have your earmolds repaired or replaced.
Tip 2: Avoid contact with chemicals
Avoid contact between the earmolds and harsh chemicals such as solvents, cleansers, and hair products. These substances can deteriorate the materials of the earmolds and reduce their performance.
Tip 3: Clean regular components
If your earmolds contain additional components such as filters or audio cables, follow the specific cleaning instructions provided by the manufacturer. Regular maintenance of these components contributes to the overall hygiene and functionality of the earmolds.
Cleaning earmolds is crucial to maintaining optimal hygiene and durability. By regularly cleaning your earmolds and following the correct maintenance guidelines, you can enjoy an extended lifespan and effective hearing protection. Make sure to always follow the manufacturer’s instructions and reach out to a professional if you have any questions or concerns about your earmolds.
Keep your earmolds in top condition! Learn more about cleaning earmolds and ensure a longer lifespan. Contact us for professional advice and discover how to clean your earmolds correctly.